Creating email accounts is one of the core features that cPanel provides for website administrators. Whether you’re setting up business emails or managing personal accounts, cPanel offers an easy-to-use interface to create and manage these accounts. In this guide, we’ll take you through each step of creating email accounts in cPanel, ensuring that you can manage your emails effectively and securely.
Table of Contents
Introduction
Setting up email accounts is essential for effective communication, especially when managing business websites. With cPanel, creating email accounts for your domain is simple and efficient, allowing for professional communication through personalized email addresses. This guide will walk you through the step-by-step process of creating and managing email accounts in cPanel.
Why You Need Email Accounts in cPanel
Creating email accounts through cPanel offers numerous benefits:
- Professionalism: Custom email addresses using your domain name (e.g., yourname@yourdomain.com) help establish credibility.
- Easy Management: cPanel provides an intuitive interface for managing multiple email accounts, enabling you to set quotas, passwords, and filters.
- Security: By creating email accounts within cPanel, you can configure spam filters, set email encryption, and manage email deliverability to ensure your messages remain safe.
- Centralized Management: All your emails are managed from one control panel, making it easier to organize and access.
Step-by-Step Guide to Creating Email Accounts
Creating email accounts in cPanel is straightforward, and here’s how you can do it:
Step 1: Access cPanel
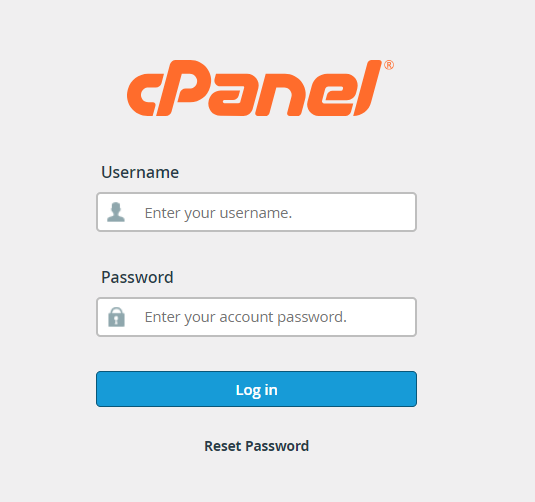
First, log in to your cPanel account. You can usually access cPanel by going to yourdomain.com/cpanel and entering your username and password. Once logged in, you will see a dashboard that provides access to various tools and features.
Step 2: Navigate to the Email Accounts Section
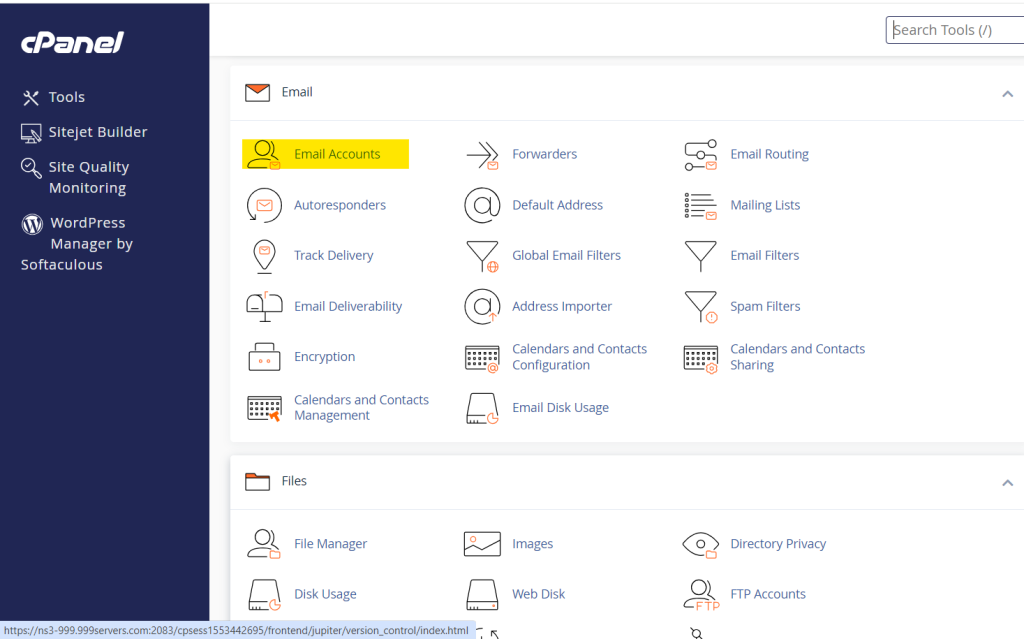
In the cPanel dashboard, scroll down to the Email section. Click on Email Accounts, which will bring you to a page where you can manage existing email accounts and create new ones.
Step 3: Add a New Email Account
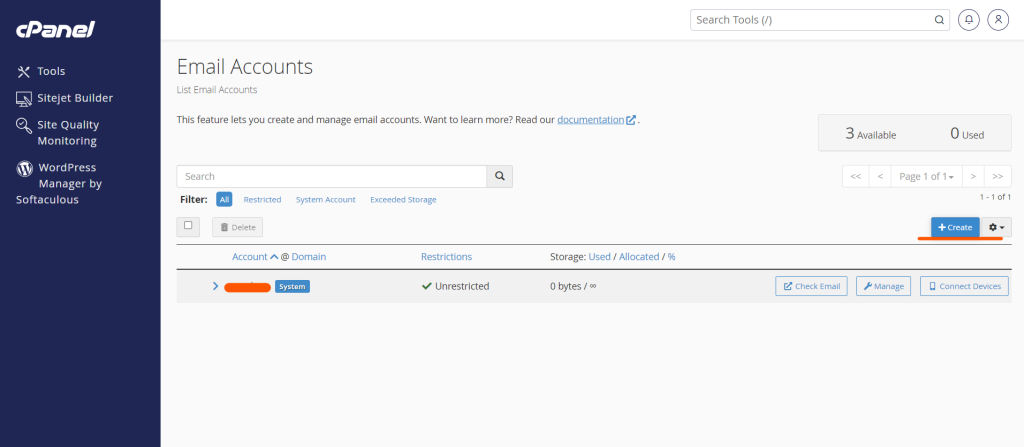
Once in the Email Accounts page, click the Create button. This will open a form where you can start configuring your new email account.
Step 4: Configure Email Account Settings
Now, you’ll need to fill in some key information:
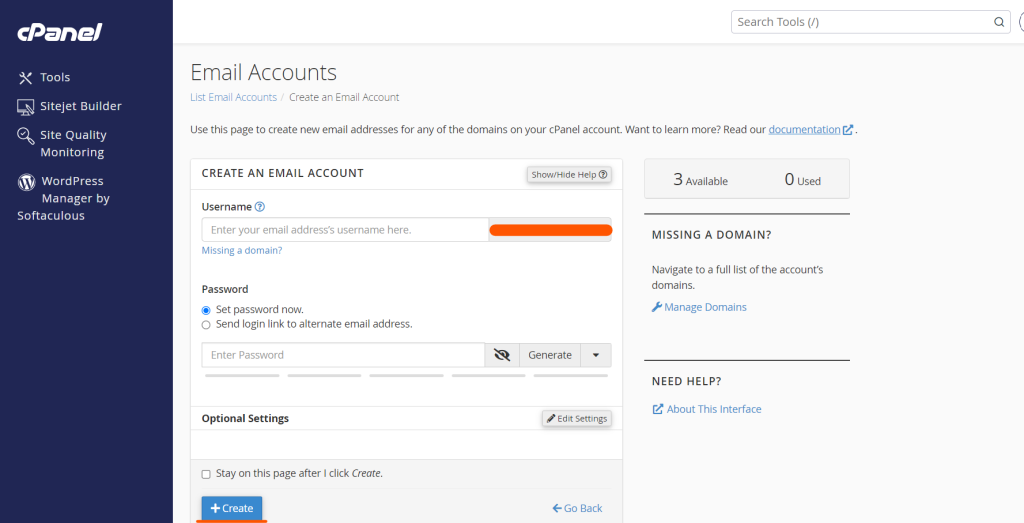
- Domain: Choose the domain for which you want to create the email account (if you have more than one domain hosted).
- Username: This will be the part of the email before the @ sign. For example, if you want to create
info@yourdomain.com, enterinfoin the username field. - Password: Set a strong password for the email account. Make sure it is unique and secure. cPanel also has a password generator that can help create strong passwords.
Step 5: Set the Mailbox Quota
The mailbox quota limits the amount of disk space that this email account can use. You can either leave the default value (often 250MB) or set a custom quota based on your hosting plan and needs.
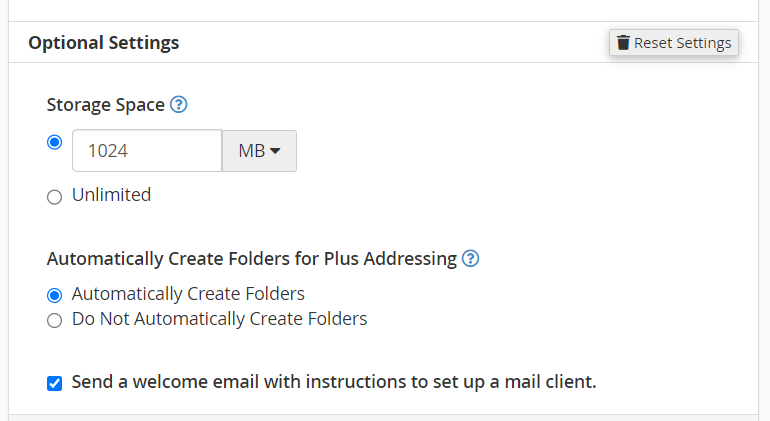
- Default Quota: Suitable for general use with moderate email activity.
- Unlimited Quota: Allows the email account to use as much disk space as available on the VPS/Dedicated server, but this should be used cautiously to avoid overconsumption of server resources.
Step 6: Finalize and Create the Account
Once you’ve filled in the necessary details and set the mailbox quota, click on the Create button. cPanel will now create your email account. A confirmation message will appear once the account has been successfully created.
Managing Your cPanel Email Accounts
After creating your email account, you may want to manage various aspects of it:
- Change Password: You can easily reset the password for an email account if needed by going back to the Email Accounts section, selecting the account, and choosing the option to change the password.
- Email Forwarders: If you want emails sent to one account to be forwarded to another, cPanel allows you to configure email forwarders.
- Autoresponders: Set up automatic responses for incoming emails. This feature is particularly useful when you’re unavailable or on vacation.
- Mailbox Quota: You can adjust the mailbox quota anytime from the Email Accounts section.
Troubleshooting Common Issues
Here are a few common issues you might encounter while creating or managing email accounts in cPanel and how to address them:
- Unable to Create an Email Account: Ensure that your hosting package allows for the creation of new email accounts. If you’ve reached the maximum number of email accounts allowed, you may need to upgrade your hosting plan.
- Email Quota Exceeded: If an email account runs out of storage space, you can either delete old emails or increase the account’s quota through cPanel.
- Emails Not Sending or Receiving: This could be a result of incorrect DNS settings, particularly MX records. Ensure that the correct records are set up for your domain to handle email traffic.
- Forgotten Password: If you forget the password to an email account, you can reset it from the Email Accounts section.
Conclusion
Creating and managing email accounts in cPanel is an essential skill for website administrators. With the steps outlined in this guide, you can easily set up custom email addresses, manage your mailboxes, and troubleshoot common email-related issues. Using cPanel’s intuitive interface, creating professional email accounts for your domain has never been easier. This enables better communication, enhances your brand, and offers a robust solution for email management.
Whether you’re managing a business or a personal website, email account creation is one of the key tools that cPanel offers to simplify your administrative tasks. By following this guide, you can ensure that your email accounts are set up correctly and efficiently.