Managing DNS (Domain Name System) records is a critical part of hosting and domain management. The DNS settings determine where your domain points, and they’re essential for ensuring that your website, emails, and other services are accessible. Plesk control panel, makes updating DNS settings simple. This guide will walk you through the process of updating DNS records in the Plesk Control Panel.
Table of Contents
Why Update DNS in Plesk?
You might need to update your DNS records for several reasons, such as:
- Pointing your domain to a new server after migrating your website.
- Updating mail server records (MX records) for proper email delivery.
- Configuring subdomains or redirecting traffic to different parts of your site.
- Adding verification records for services like Google Workspace or Microsoft 365.
Regardless of your reason, Plesk offers an intuitive interface for managing and updating your DNS settings.
Step-by-Step Guide to Update DNS in Plesk Control Panel
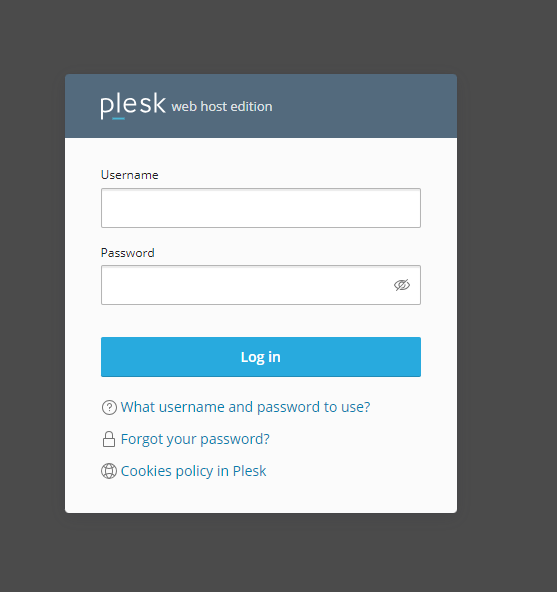
Step 1: Log in to Your Plesk Control Panel
Begin by accessing your Plesk control panel. Typically, you can reach it via the following URL format: https://yourdomain.com:8443. Enter your username and password to log in.
Step 2: Navigate to the DNS Settings
Once logged in, follow these steps:
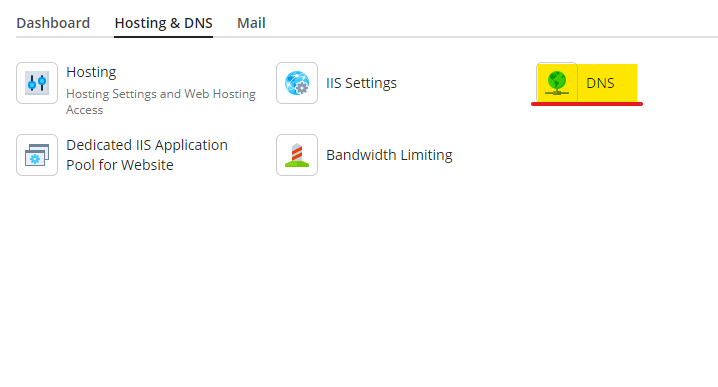
- On the left-hand side of the Plesk dashboard, find and click on Websites & Domains.
- Under the Websites & Domains tab, locate the domain for which you want to update DNS settings.
- Scroll down and click on DNS Settings for that particular domain.
Step 3: Review the Current DNS Records
In the DNS Settings section, you’ll see a list of current DNS records. These may include A records (which point your domain to an IP address), MX records (which manage email routing), CNAME records (aliases for domains), and other important DNS entries.
Take a moment to review the existing records to understand what changes you need to make.
Step 4: Add or Modify DNS Records
Adding a New DNS Record:
To add a new DNS record:
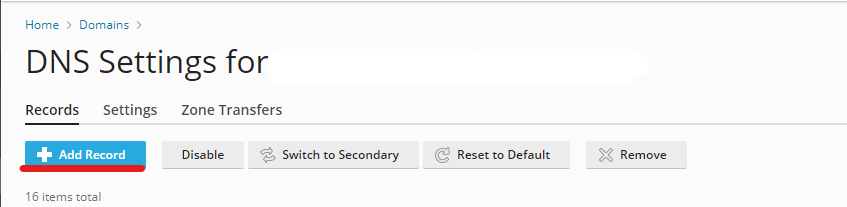
- Click the Add Record button at the top of the DNS settings page.
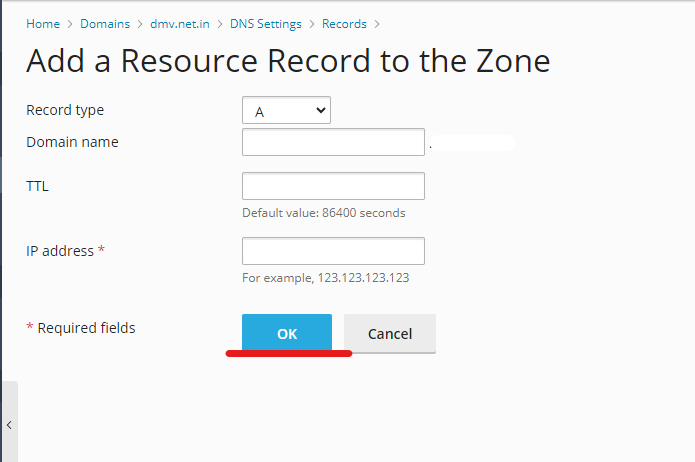
- Choose the type of record you wish to add from the drop-down menu. Common types include:
- A Record: Maps a domain name to an IP address.
- MX Record: Specifies the mail server responsible for receiving emails.
- CNAME Record: Creates an alias for your domain.
- TXT Record: Adds text information to your DNS (often used for verification purposes).
- Enter the required information for the DNS record, such as the domain name, IP address, or other details, depending on the record type.
- Once you’ve filled out the necessary information, click OK to save the record.
Modifying an Existing DNS Record:
To modify an existing record:
- Locate the record you wish to change.
- Click on the record name, and a new window will appear where you can edit the record details.
- Update the necessary fields, such as the IP address or hostname.
- Click OK to save your changes.
Deleting a DNS Record:
To delete an unwanted DNS record:
- Select the checkbox next to the DNS record you want to remove.
- Click the Remove button at the top of the page.
- Confirm the deletion by clicking Yes.
Step 5: Apply the Changes
After making all the necessary changes, you’ll need to apply the updates to the DNS settings. To do this:
- At the top of the DNS settings page, click the Update button.
- Plesk will now update the DNS zone with your new settings.
Step 6: Verify the DNS Changes
Once the changes are applied, DNS propagation can take anywhere from a few minutes to 24-48 hours, depending on your domain registrar and how quickly the changes propagate across the internet.
You can verify your DNS changes using tools like:
- DNS Checker (https://dnschecker.org): Enter your domain name to see how your DNS records are resolving globally.
- Whatsmydns (https://www.whatsmydns.net): Another great tool to check DNS propagation.
Troubleshooting DNS Issues
While updating DNS records is generally straightforward, you may encounter some issues. Here are a few common problems and their fixes:
- DNS Propagation Delay: Changes to DNS records might take some time to fully propagate across the internet. Be patient and allow up to 48 hours for the changes to take effect globally.
- Incorrect DNS Record: If you enter the wrong IP address or other details in a DNS record, your domain may not function correctly. Double-check all entries before saving the changes.
- Name Servers Not Set Correctly: If your DNS changes aren’t working, ensure your domain’s name servers are set correctly with your domain registrar.
Conclusion
Updating DNS records in Plesk is a critical task that ensures your domain, website, and email services function correctly. By following the step-by-step process outlined in this guide, you can easily manage and modify your DNS settings without hassle. Whether you’re updating A records, adding new subdomains, or setting up email routing, Plesk’s intuitive DNS management interface makes the process simple and efficient.